Match the microphone and desk
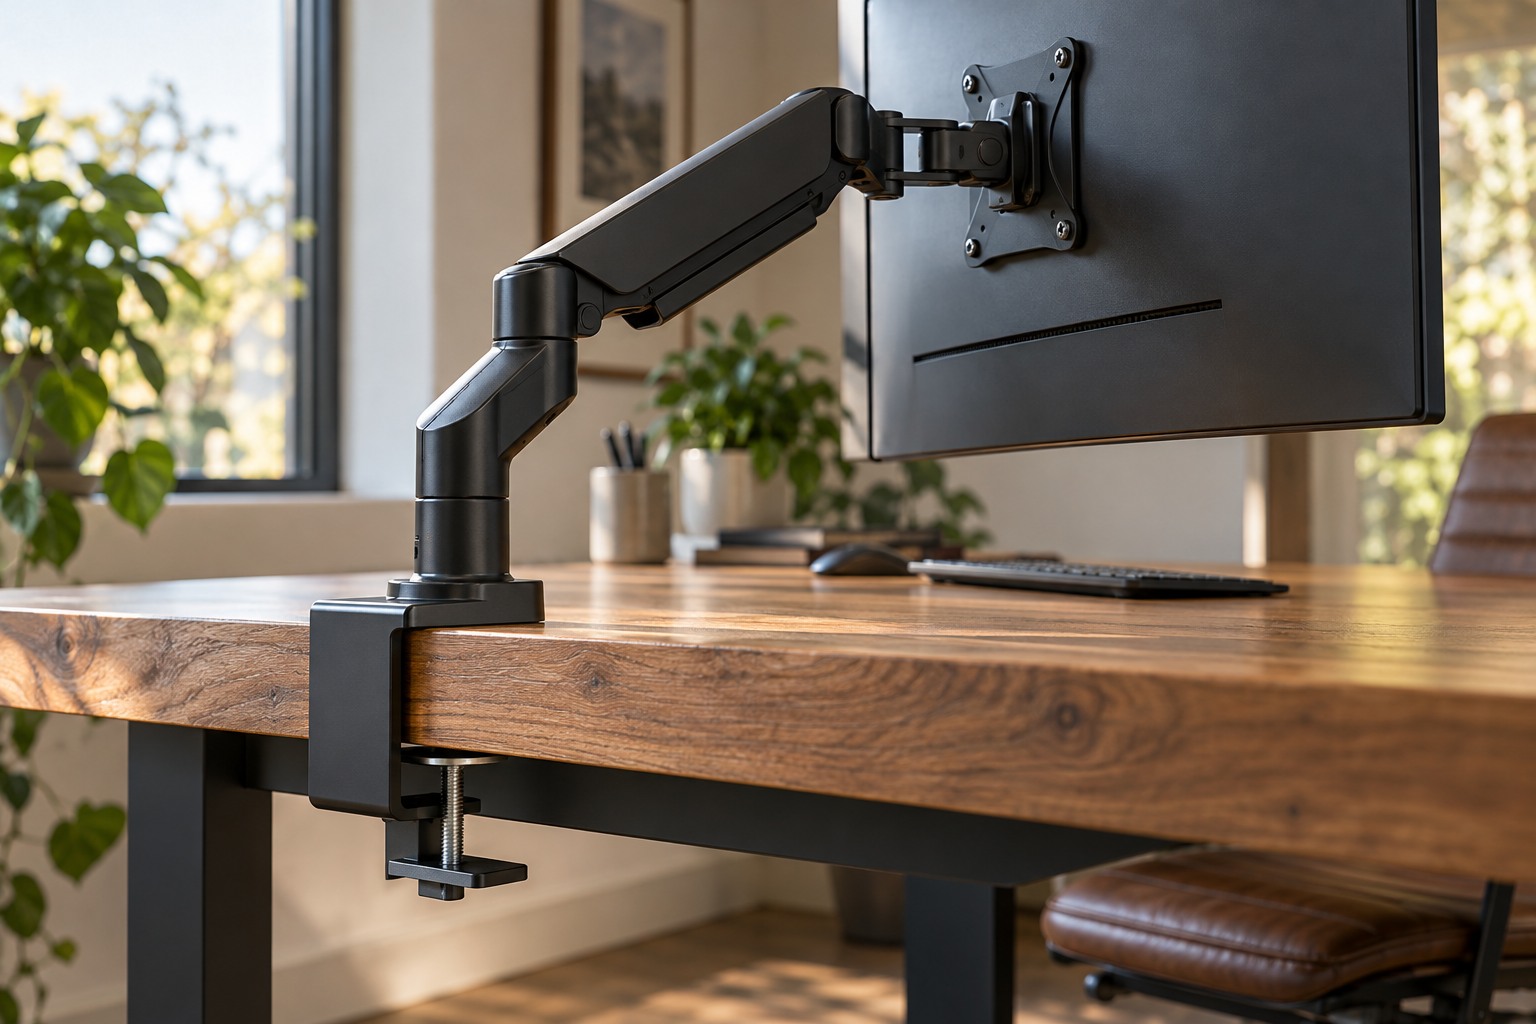
Check the arm's supported weight range with the microphone, shock mount and any other attached parts included. An arm designed for a heavier load may not hold a very light microphone where you want it, while an overloaded one may sag. Confirm the mounting thread or required adapter through the product documentation rather than forcing similar-looking fittings together.
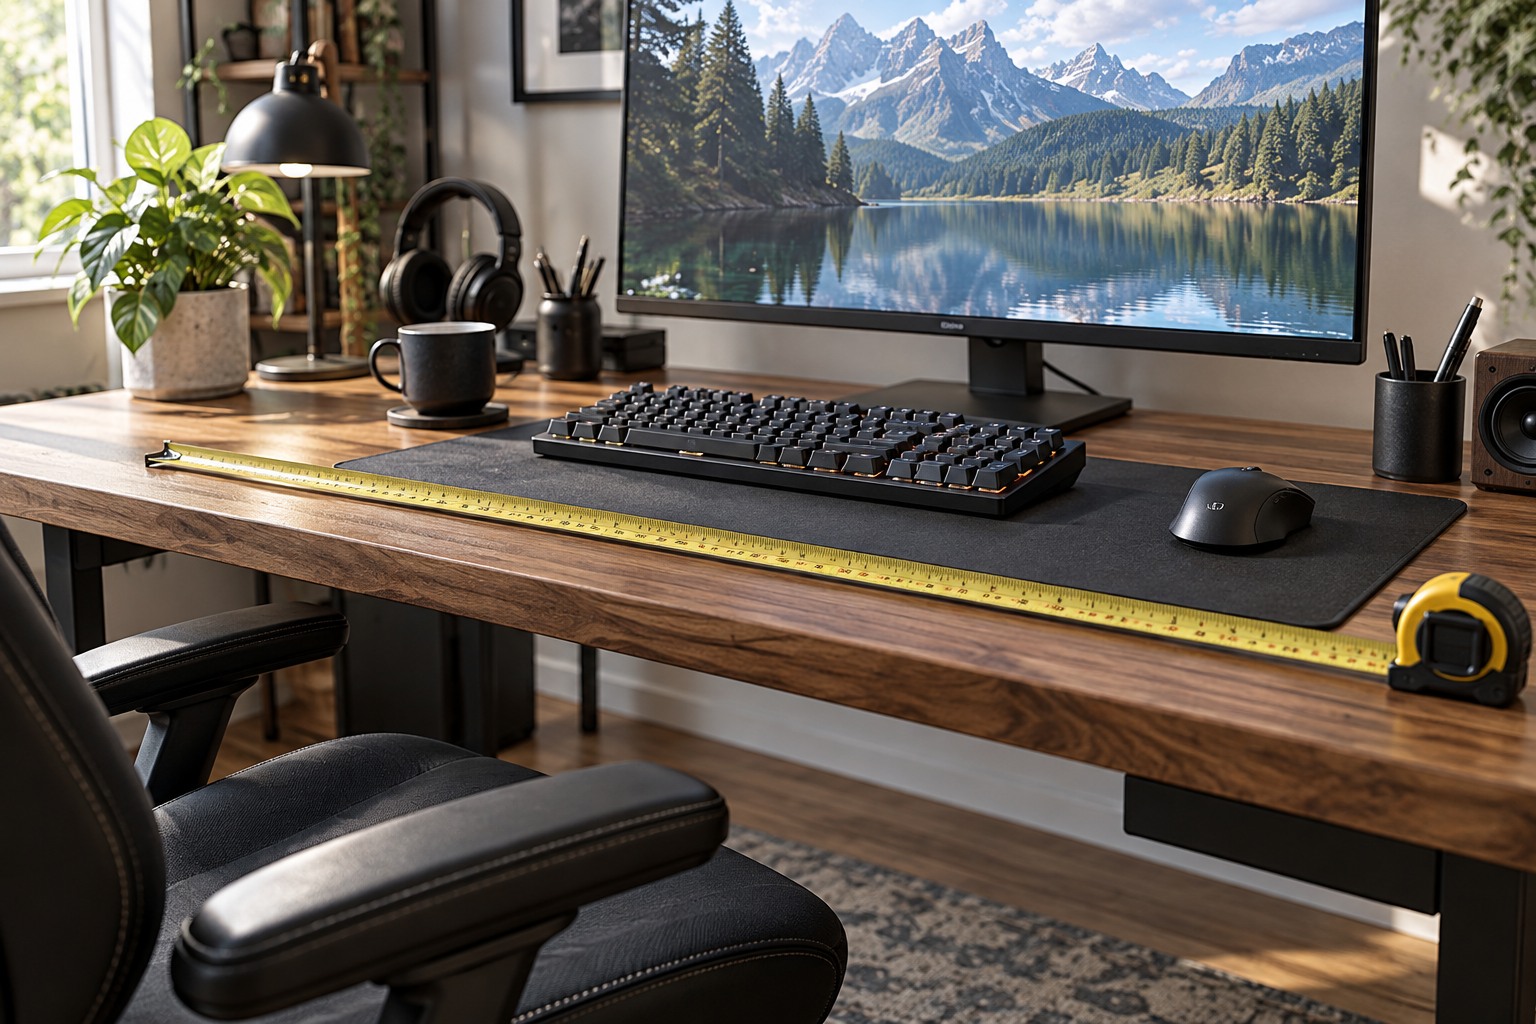
Inspect the desk edge and underside for clamp clearance and structural suitability. A drawer or support rail can block the clamp even when the tabletop thickness appears correct. Follow the arm and desk makers' instructions, especially for glass or hollow surfaces. Do not improvise a mounting location that puts pressure on an unsupported edge.
Trace the arm's working path
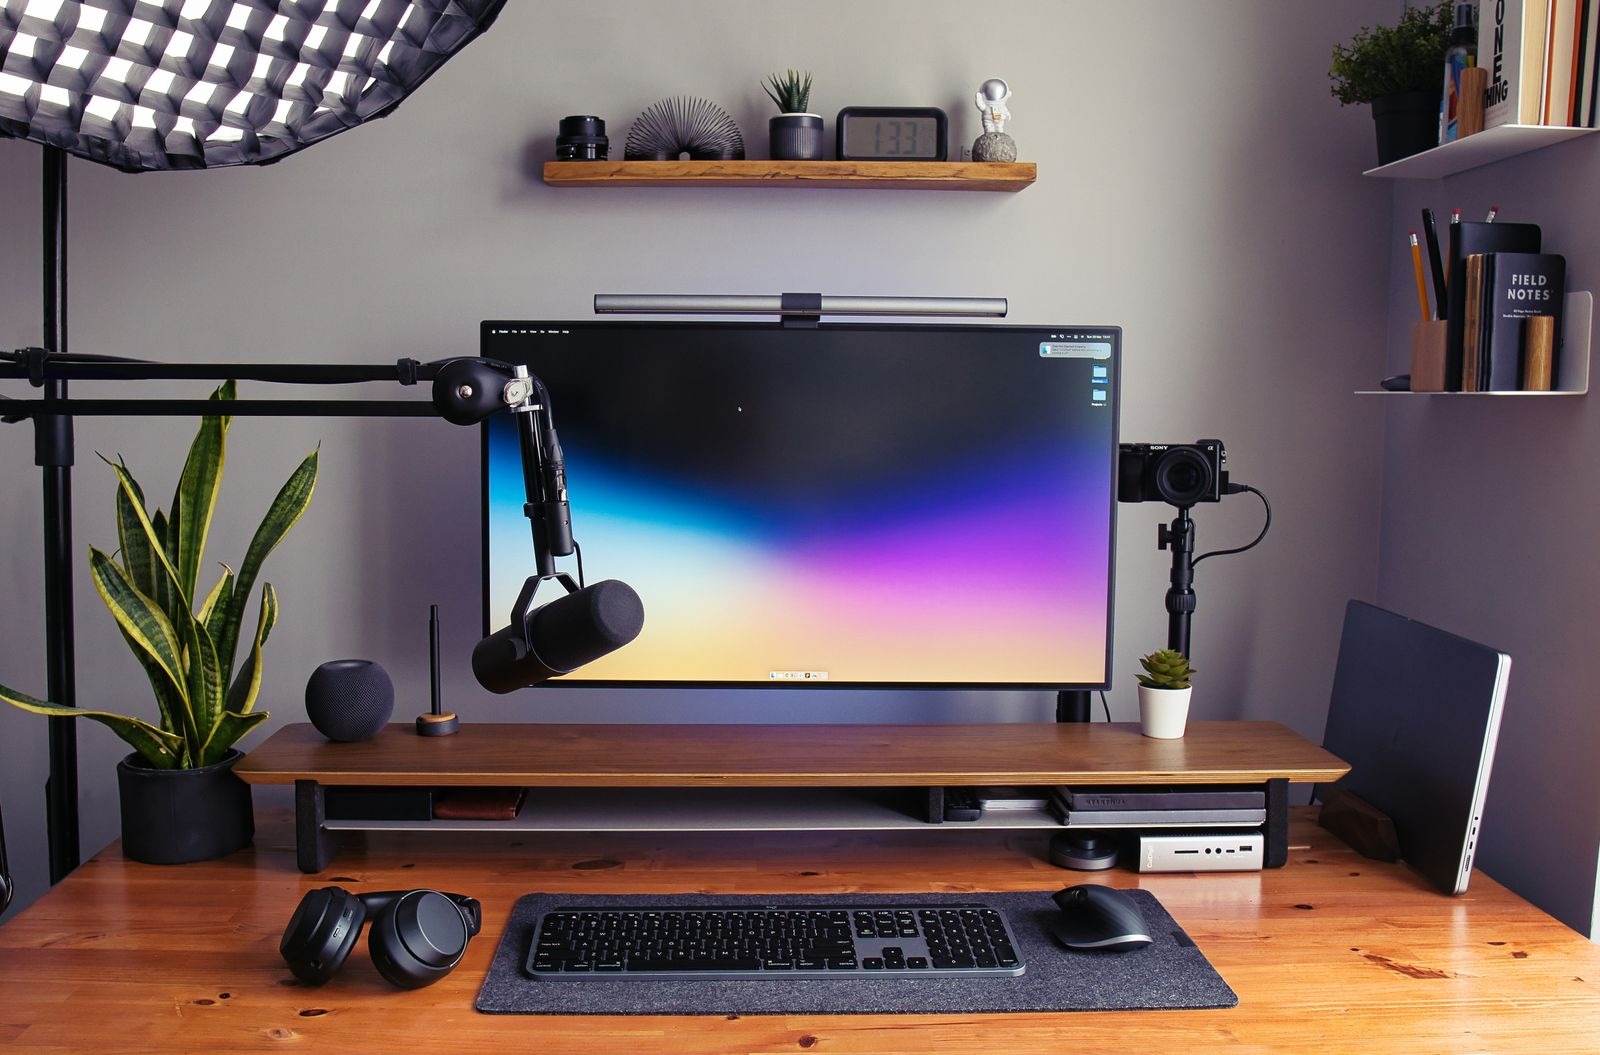
Sit with the keyboard and mouse in their normal positions, then decide where the microphone needs to be relative to your mouth. Use the microphone's pickup guidance rather than placing it solely for appearance. Check whether the arm crosses a monitor, hides an important part of the screen or prevents reaching frequently used keys.
Move the arm between its speaking and parked positions. It should not strike a speaker, lamp or neighboring display. Keep the cable loose enough for the intended range but secured away from joints where it can be pinched. A cable pulled taut can move the microphone even when the arm itself is adjusted correctly.
Test keyboard and desk noise through a short recording. An arm can transmit vibration depending on the mounting and microphone arrangement; it is not a guarantee of silence. Compare normal typing and mouse use before buying another accessory to solve a noise you have not identified. A supported shock mount may address some vibration, while microphone position and gain remain separate considerations.
Keep controls accessible
Make sure you can reach the microphone's mute or the chosen software control without pushing the arm away. A visible mute state is useful during group play. Check that the parked position does not leave the microphone vulnerable to a chair, drink or cable tug. If the desk is shared, show the other user how to move the arm without forcing its joints.
After installation, recheck the mount according to the manufacturer's guidance and keep adjustment tools with the accessory documentation. A successful setup lets you speak naturally, see the game and use the keyboard without constantly negotiating around the microphone. If the arm cannot provide that path on the desk, a different mount location may matter more than a more expensive microphone.