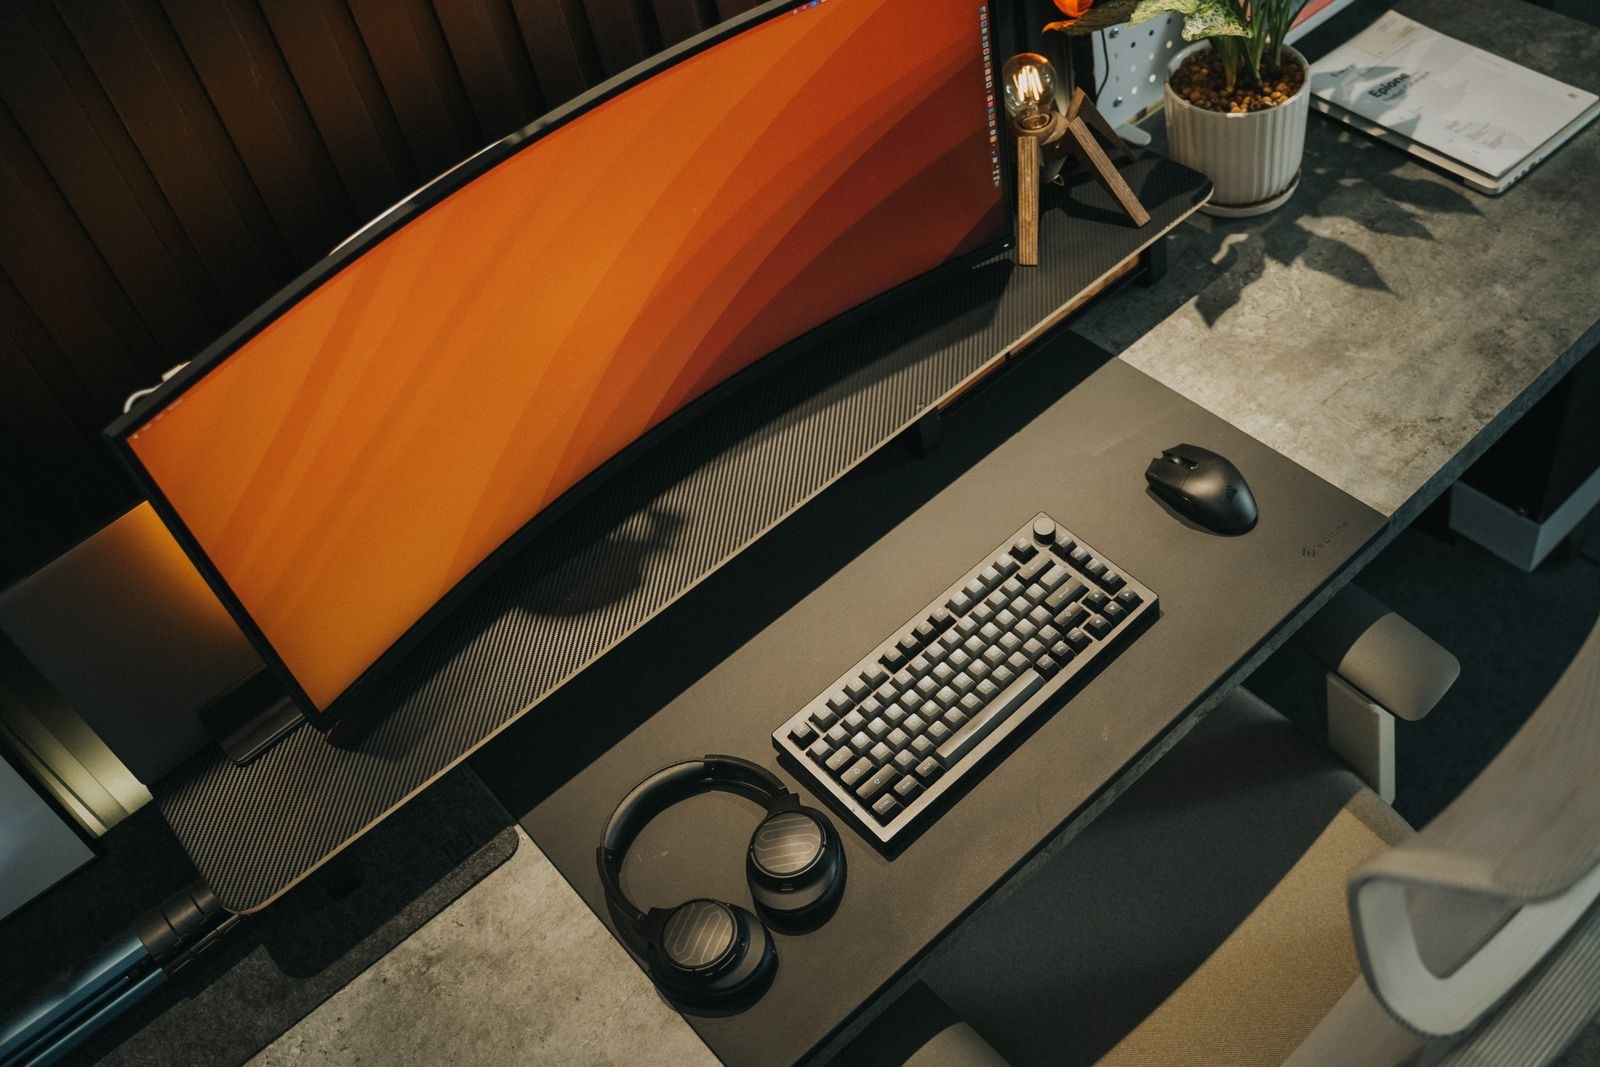
Mark the equipment you already use
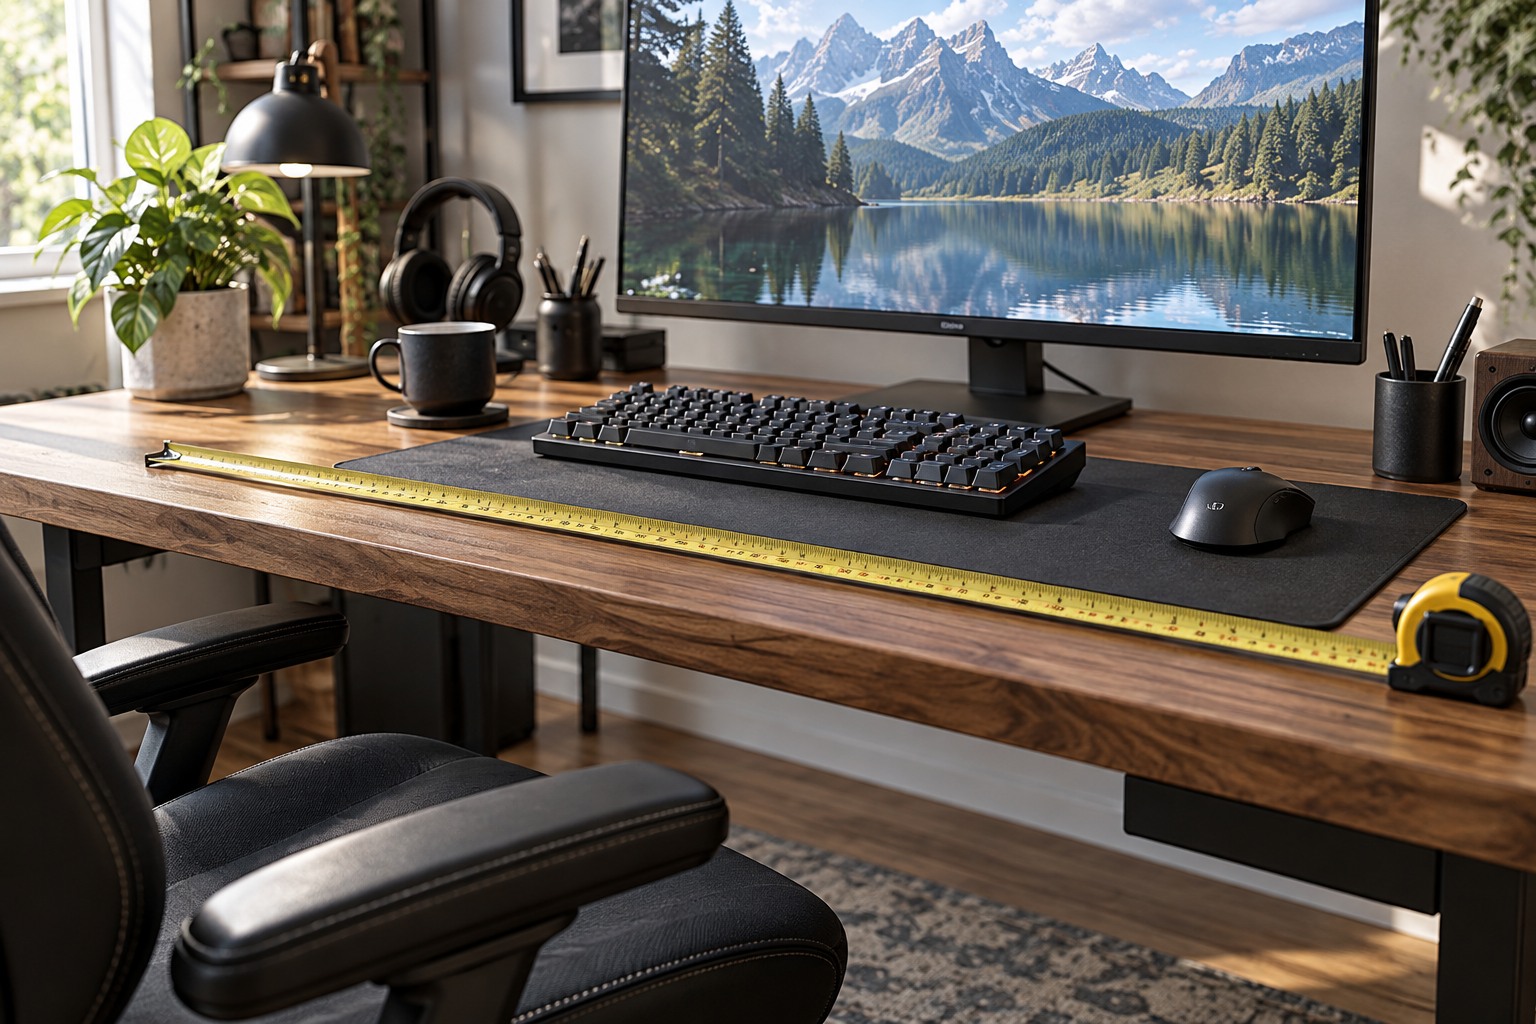
Measure the clear surface width and depth, then sketch the footprint of the monitor stand, keyboard, mouse area and other equipment. Include the space your hands need during normal use. A mouse pad that fits beside the keyboard is not necessarily large enough for your preferred movement. Keep frequently used controls within comfortable reach rather than filling every remaining gap with another accessory.
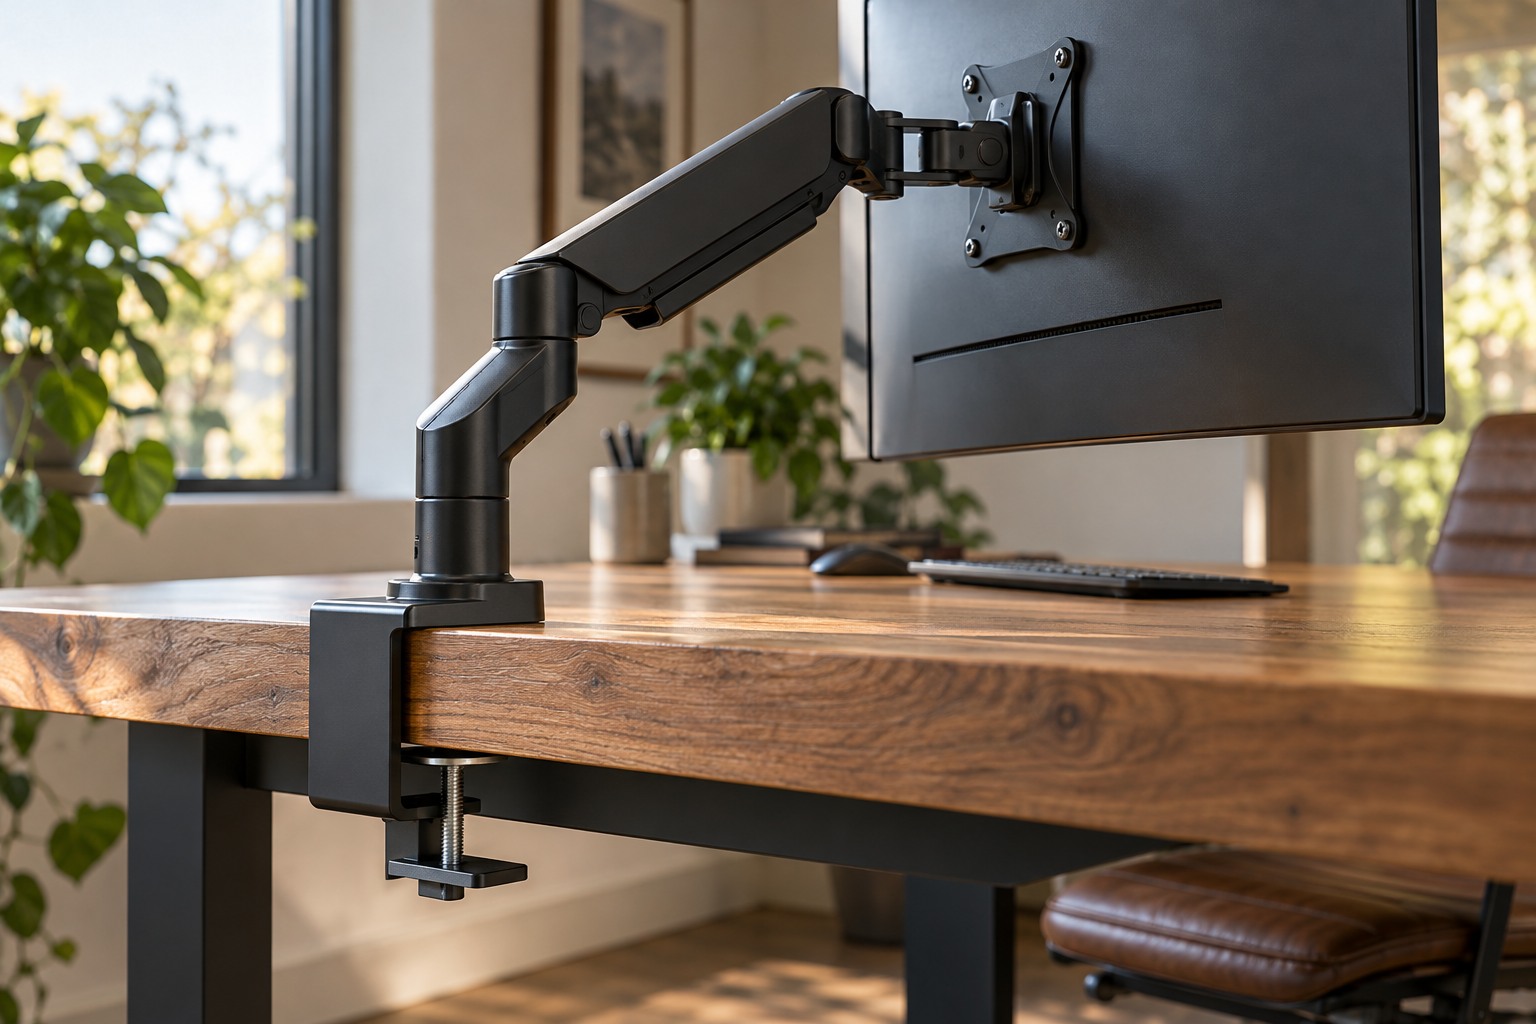
Look below and behind the surface. A drawer, support rail or modesty panel can block a monitor-arm clamp or cable tray. Measure the actual attachment area rather than only the tabletop thickness at its front edge. Note the distance to the wall and any window ledge, because a monitor arm or plugged-in cable may need room to move behind the desk.
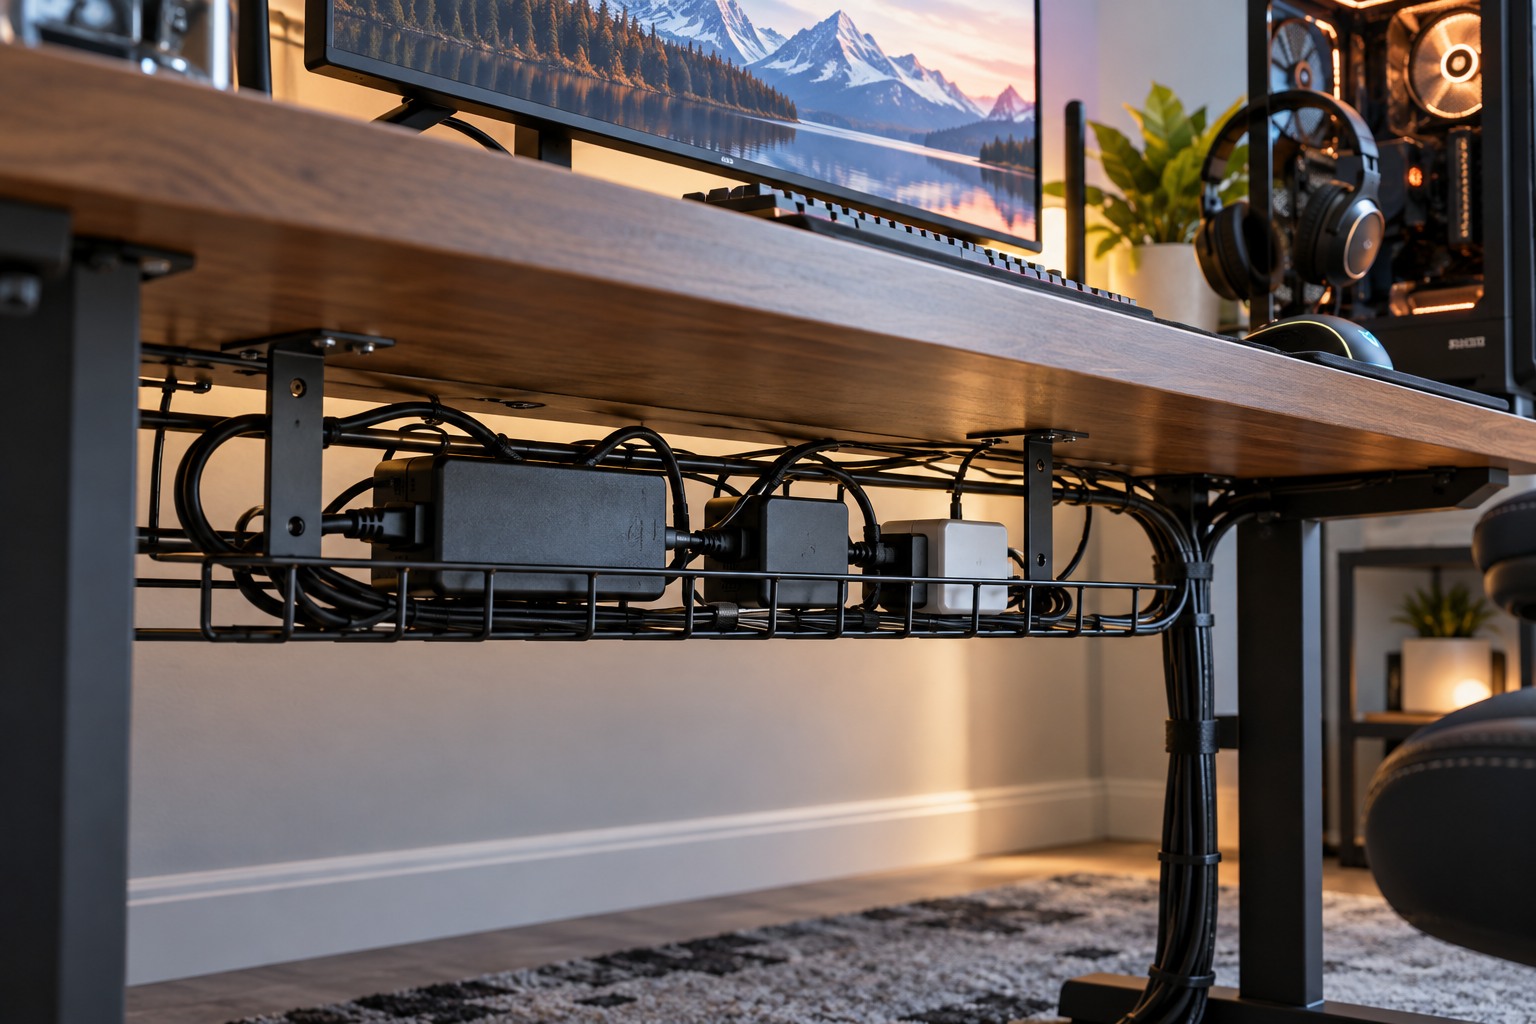
Use removable paper shapes or a simple floor-plan sketch to test a proposed layout. This is especially helpful for a larger monitor or speaker pair. Include cable exit directions and power-adapter space, not just the visible object. A product photograph often hides the part of the footprint created by connectors and stands.
Test the working position before buying
Sit in the chair and check screen position, keyboard placement and legroom with the proposed arrangement. Move the chair in and out, open drawers and reach the controls you use most. A layout that looks balanced from the doorway may put a microphone arm in the way or leave too little room for a notebook. Keep the uses of the desk visible in the plan.
If the desk also supports work or study, identify which items must move between activities. A keyboard tray or storage shelf may help only if it fits the equipment and is easy to access. Avoid buying an organizer that consumes the exact area it is meant to free. Compare the complete footprint with the actual task you want to make easier.
Keep the measurements in a short note when shopping: usable width, depth, attachment clearance and any load restrictions stated by the desk maker. Do not infer structural capacity from dimensions alone. Once new equipment arrives, test the arrangement before committing adhesive mounts or drilling holes. Small reversible adjustments are easier while the desk is still clear.