Confirm the supported upgrade path
Find the console's exact model and the manufacturer's official storage-upgrade guide. Some platforms provide a user-accessible expansion arrangement, while others do not support a generic internal replacement. Do not apply instructions from another generation because the cases or drive connectors look similar.
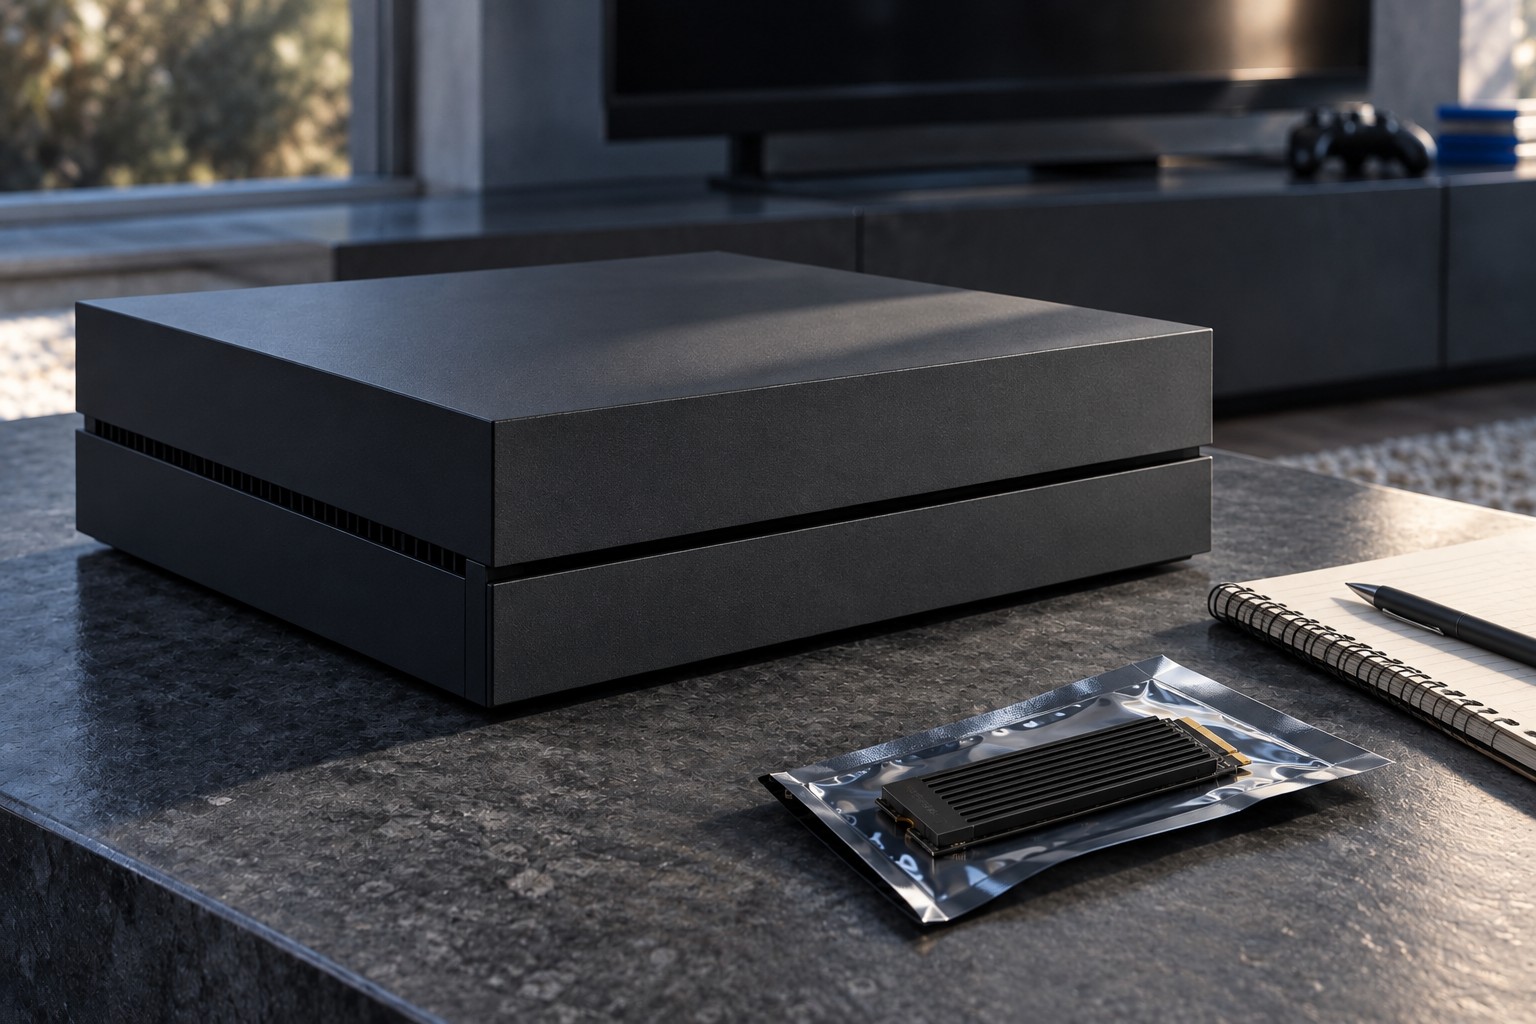
Sony's PS5 M.2 guide specifies the supported drive requirements and installation process. It also explains that supported M.2 storage can hold and launch PS5 and PS4 games. Use the current requirements directly when selecting a drive rather than relying on a seller's broad console-compatible label.
Check the full drive assembly
Compare interface, capacity, physical dimensions and required cooling with the official specification. A heatsink-equipped drive must fit as a complete assembly, not merely as a bare module. A drive that meets a speed figure can still be unsuitable because its cooling structure is too large.
Read whether the drive includes an appropriate heatsink or requires one to be added. If adding cooling, follow both the drive and console instructions. Thermal pads, covers and retaining screws have specific roles; do not improvise a stack of parts to make an oversized assembly close.
Keep the exact product number visible during the purchase. Manufacturers can sell similar names with different capacities, heatsinks or revisions. Check the item being delivered rather than assuming every variant in the listing has the same dimensions and specifications.
Prepare for installation
Back up or synchronize supported saved data as appropriate before maintenance, and follow the console's shutdown and disconnection instructions. Gather the specified tools and use a clean stable workspace. Keep small screws away from openings and do not turn on a console if a loose part has fallen inside.
Use the official guide for the exact model's cover removal and mounting sequence. Do not force a cover or connector that does not move as described. If the procedure exceeds your comfort or the hardware does not match the guide, stop and use the manufacturer's support options.
Verify the new storage
Follow the console's initialization and formatting prompts, confirming that they refer to the newly installed drive. Let the process complete without interruption. Then test a small transfer and launch a supported game before reorganizing the whole library.
Keep the drive receipt, model and installation notes. If the console reports a compatibility or performance issue, use that information when contacting support. An internal upgrade should provide a documented supported storage location, not depend on bypassing a warning or forcing hardware outside the specified space.