Use the case's configuration diagrams
Find the case manual and identify the motherboard sizes, graphics-card space, cooler height and power-supply limits it supports. Look for conditions attached to those figures. A maximum card length may assume that a drive cage or front radiator is absent, while a radiator limit may depend on memory or motherboard clearance.
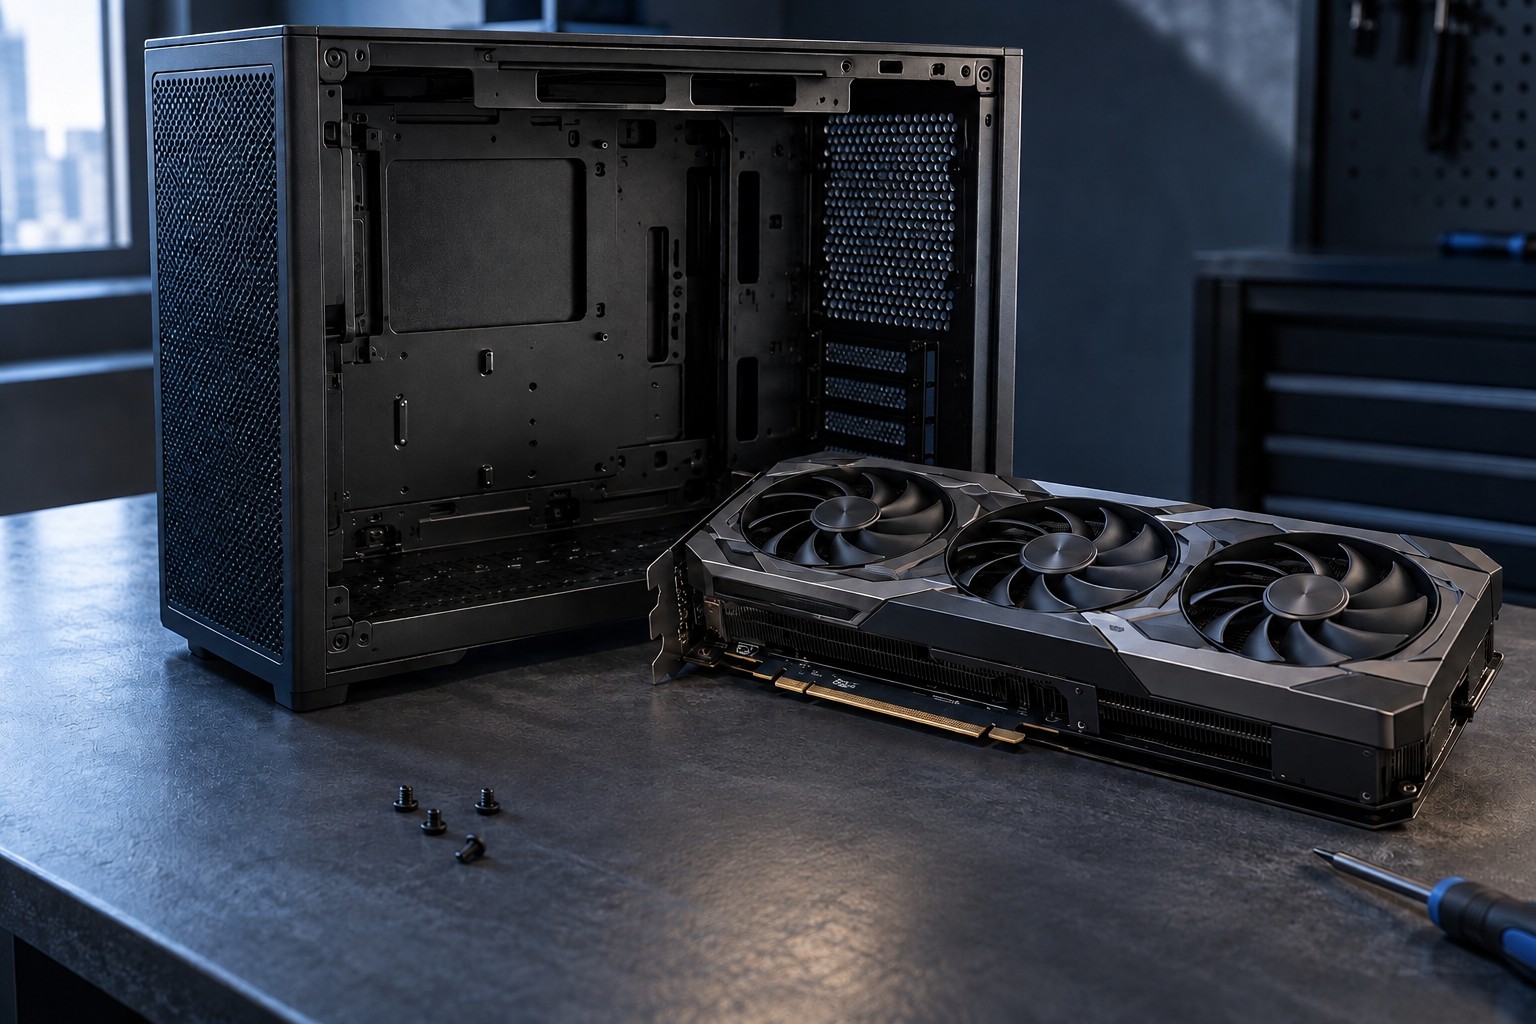
Write down the exact dimensions of the selected components, including the board-partner graphics card rather than only its graphics-processor name. Cooler shrouds, backplates and power connectors can make cards with the same processor different sizes. Include the room needed to install and remove them, not only their final resting position.
Check the places where parts overlap
A tall air cooler can overhang memory slots, and a top radiator can meet motherboard heatsinks or cables. A long power supply can reduce cable-routing space or interfere with drive bays. These interactions are why separate maximum values cannot always be combined in one build.
Count graphics-card thickness in occupied slots and inspect what sits below it. A thick cooler may cover an expansion slot you intended to use. If a vertical mount is planned, verify the supported riser, side-panel clearance and airflow arrangement rather than treating it as a purely visual change.
Power and data cables also need space. A side panel should not press hard against a graphics connector or require force to close. Check the manufacturer's bend guidance and leave access to connectors that may need to be serviced later.
Consider the desk and maintenance space
Measure the case's external dimensions at the intended location, including feet, handles and cable exits. Leave the ventilation and service space required by the maker. A tower that fits tightly inside a cabinet may not have a suitable operating environment even though its width fits the opening.
Check how filters and panels are removed. If a bottom filter slides out from the rear, a case pushed against a wall can be awkward to maintain. Plan access to the power switch and ports as well as the front-facing appearance.
When uncertain, choose a supported configuration with clear room rather than depending on a few millimeters and an improvised cable bend. Keep a simple dimension sheet with the exact components. It helps identify which part must change if a later upgrade is larger, without repeating the entire compatibility search.